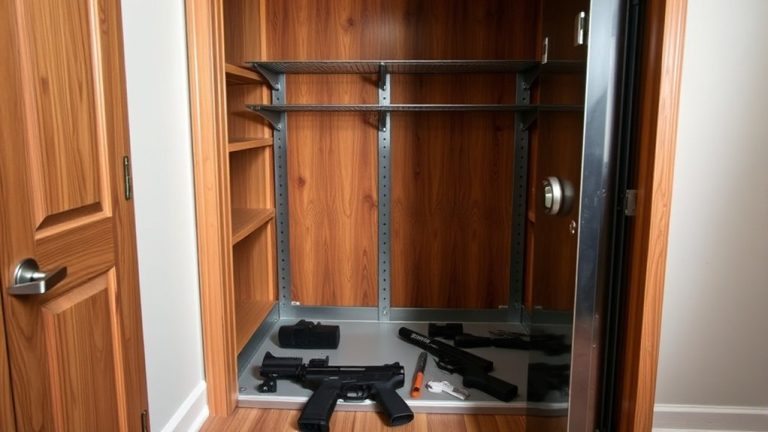
Secure a Gun Safe to a Wall in 10 Steps
To securely anchor your gun safe, choose a sturdy interior wall with accessible studs and avoid exterior walls. Use a stud finder to locate precise stud positions, then measure and mark the safe’s placement guaranteeing clearance for door swing.
Prepare the wall, select heavy-duty lag bolts and washers, and drill pilot holes aligned with studs. Firmly bolt the safe flush to the wall, then check stability and conceal or reinforce it for added security.
Following these steps guarantees maximum protection and stability while offering further details on proper installation. Just take your time with each step, and you’ll have a safe that’s both secure and reliable.
Choose a Secure Wall Location With Accessible Studs for Your Gun Safe
When securing a gun safe to a wall, start by selecting an interior wall with accessible studs. These provide the strongest anchoring points. You want the safe securely anchored into solid wood because studs offer superior structural support compared to drywall alone.
Avoid exterior walls to minimize exposure to temperature fluctuations and moisture. These factors can compromise the safe’s integrity over time.
Also, choose a discreet location that remains accessible for quick firearm retrieval but stays out of plain sight from potential intruders.
Make sure there’s adequate clearance for the safe’s door swings. The wall surface should be clean and level for proper installation.
Using a stud finder will help you accurately pinpoint stud positions, but the initial step is confirming you’ve selected a suitable interior wall for maximum security and durability.
Locate and Confirm Stud Positions Using a Stud Finder
When you’re ready to find the studs, grab your stud finder and slowly scan the wall. As you move it along, mark the edges of each stud with a pencil—this helps you pinpoint the exact spots for mounting.
Next, double-check the stud depth. This step is important because it ensures your fasteners will hold securely without accidentally going through any wiring or plumbing.
Taking these careful steps means your gun safe will be installed safely and stay firmly in place.
Using a Stud Finder
Although locating studs might seem straightforward, using a stud finder correctly is essential to confirm you secure your gun safe to the strongest part of the wall.
Start by calibrating the stud finder according to your wall’s thickness and material. Move it horizontally until it signals a stud edge, then mark both edges to determine the center.
Since studs are typically spaced 16 or 24 inches apart, measuring from one located stud helps identify adjacent ones. Always aim to anchor your safe directly into the stud’s center for maximum stability and support.
Proper use of the stud finder confirms you anchor your gun safe at the strongest points, providing the necessary stability to prevent shifting or tipping. This guarantees a secure and reliable installation.
Marking Stud Locations
Accurately marking stud locations is essential for securing your gun safe firmly to the wall. To confirm a secure anchor point and accurate placement for drilling holes, follow these steps:
- Use a stud finder, moving it horizontally to detect stud edges by beeping or lights. Mark the stud center with a pencil for precise drilling.
- Confirm stud presence by tapping the wall; a solid sound indicates a stud, while a hollow sound reveals gaps.
- Double-check your marks by measuring from fixed points like corners or outlets. This helps confirm consistent stud spacing, which is typically 16 to 24 inches.
These techniques guarantee you’re using reliable studs for lag bolts. This prevents installation errors and makes sure your gun safe is securely anchored.
Verifying Stud Depth
To verify stud depth and position, start by calibrating your stud finder according to the manufacturer’s instructions to guarantee accurate detection.
Use the stud finder to locate the center of wall studs, typically spaced 16 or 24 inches apart. Once detected, mark edges of the stud precisely to identify the centerline for drilling.
Confirm stud depth, generally around 1.5 inches for dimensional lumber, by drilling a small pilot hole carefully. This step assures you don’t penetrate too deeply, avoiding hidden electrical wiring or plumbing.
Double-check all markings and pilot holes before securing your gun safe to the wall.
Accurate stud depth verification and marking edges are critical for a solid, safe installation. This prevents structural damage and makes sure your gun safe is securely anchored.
It’s worth taking the time to do it right!
Measure and Mark Your Gun Safe’s Placement Accurately
First, measure your gun safe’s height, width, and depth to make sure it fits perfectly in the spot you’ve chosen. Don’t forget to leave enough clearance for the door to open smoothly.
Next, grab a level and check that the wall is straight before you start marking the anchor points. Be sure to mark them exactly where the safe’s pre-drilled holes are.
It’s a good idea to double-check the distances from the floor and the nearby walls to ensure your safe will be secure and properly aligned.
Precise Measurement Techniques
Three key measurements, height, width, and depth, are essential when positioning your gun safe. Use precise measurement techniques with a measuring tape to confirm proper installation and secure anchoring. Allow 2-4 inches clearance around the safe for ventilation and door swing.
Follow these steps to install your gun safe accurately:
- Measure height, width, and depth, factoring in clearance and door swing.
- Verify surface levelness with a spirit or digital level to avoid instability.
- Locate floor joists or wall studs to align anchoring points securely.
Accurate measurements prevent installation errors and guarantee stability.
Marking Anchor Points
Accurately marking anchor points is essential for securing your gun safe firmly to the wall. Start by measuring your safe’s height and width, considering door swing and clearance. Use a stud finder to locate and mark wall studs, ensuring proper anchoring to structural supports.
Position the safe, then mark the anchor points on the wall with a pencil, aligning them precisely with the safe’s pre-drilled holes. Use a level to verify these measurements, making sure all marks are even to prevent tilting after installation.
Finally, confirm the marked points are clear of obstructions and accessible for drilling.
Taking these careful steps when marking anchor points guarantees a secure, level installation and helps maximize your safe’s stability. It’s worth the effort to get it just right!
Get the Wall Ready for Drilling and Mounting
Before you drill, make sure you locate the wall studs with a stud finder. This helps provide secure anchoring that can support the safe’s weight. It’s an important step to keep everything stable.
To get the wall ready, follow these steps carefully:
- Clear the installation area of any obstacles. This makes sure you have easy access for your tools and enough space to place the safe without hassle.
- Check the wall for any damage or moisture that might weaken the anchoring. If you find any problems, fix them before moving on.
- Mark the drilling points accurately, matching them with the safe’s pre-drilled holes. If you’re mounting on concrete or brick, use masonry bits to create clean, precise holes.
Pick the Right Heavy-Duty Bolts and Washers
Selecting the right heavy-duty bolts and washers is essential to making sure your gun safe stays securely anchored to the wall. Use heavy-duty lag bolts or wedge anchors with diameters between 3/8 and 5/8 inches. This will match the safe’s mounting holes perfectly.
Pair these bolts with large, flat washers to spread the weight evenly and prevent pull-through. It’s best to choose high-grade steel for maximum durability and corrosion resistance, especially if you’re dealing with humid environments.
Make sure your wall studs can support the safe’s weight. Secure at least two bolts into solid wood or metal studs for the best hold.
| Bolt Type | Key Feature |
|---|---|
| Heavy-duty lag bolts | Superior strength |
| Wedge anchors | Tamper resistance |
| 3/8 to 5/8 inch diameter | Fits mounting holes |
| Large flat washers | Load distribution |
| High-grade steel | Durability, corrosion resistance |
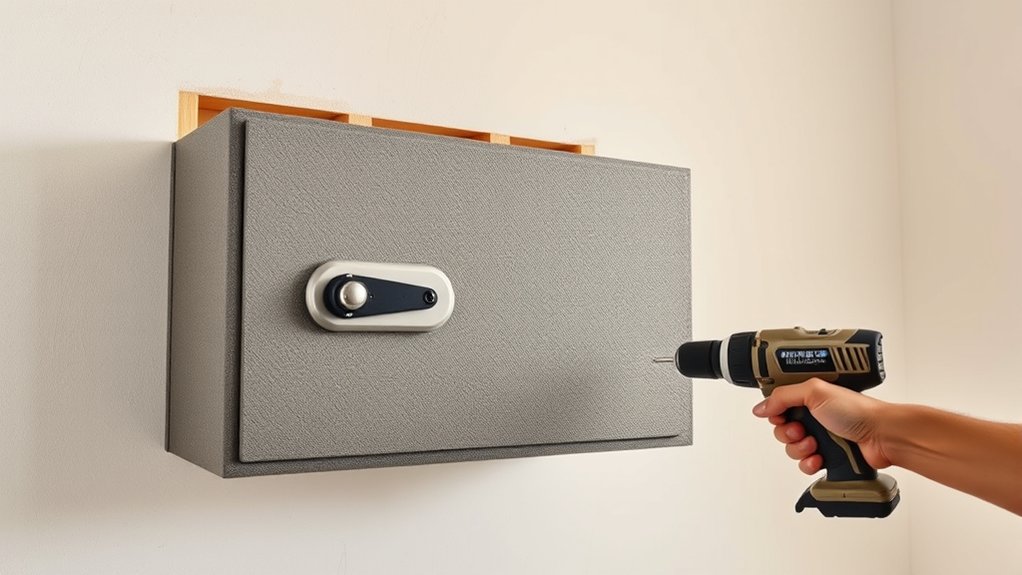
Drill Pilot Holes for Precise and Secure Fastening
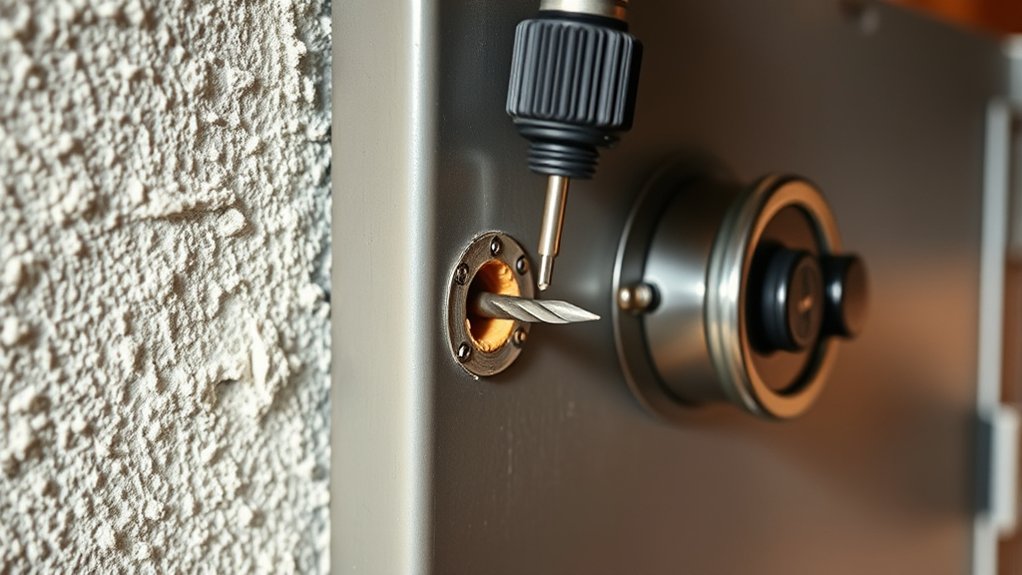
You’ll want to start by choosing drill bits that match the size and type of your wall. This helps make sure your pilot holes are accurate.
Next, take your time marking each hole position carefully. Make sure they line up with the safe’s pre-drilled holes so everything fits securely.
Before you start anchoring, it’s a good idea to clean out the holes well. Removing any debris will help you get the strongest, most reliable fastening possible.
Selecting Correct Drill Bits
Three key factors determine the correct drill bit choice for pilot holes when securing a gun safe to a wall.
First, match the drill bit type to the wall material. Use a masonry bit with a hammer drill for concrete, typically 3/8 to 5/8 inches in diameter, to drill holes for anchor bolts.
Second, size the bit slightly smaller than the screws or bolts to prevent splitting and guarantee secure fastening.
Third, for wooden walls, select a standard twist drill bit that corresponds to the lag bolts’ diameter for a snug fit.
Always clean out dust and debris from drill holes with compressed air or a vacuum to improve anchor effectiveness.
Marking Accurate Hole Positions
After choosing the correct drill bits, the next step is to mark accurate hole positions on the wall. Use a stud finder to locate wall studs, as securing the safe to these provides greater stability and resistance against tipping. Align the safe’s pre-drilled holes with the marked stud locations, making certain the safe is level before finalizing your marks.
Next, drill pilot holes slightly smaller than the lag bolts or anchors to prevent wall damage and guarantee a snug fit. Match the pilot hole depth to the anchor length for maximum security.
Once drilled, clean out any dust or debris from the holes to avoid interference with the fasteners. Precise marking and properly drilled pilot holes are critical to secure the safe firmly and enhance overall stability.
Taking your time with this step really pays off in the long run.
Cleaning Holes Before Anchoring
Although drilling pilot holes is essential, cleaning them thoroughly before anchoring is equally critical to guarantee a secure and lasting installation.
Properly cleaning holes ensures a strong grip for the anchors, which directly impacts the overall stability of your gun safe mount.
To achieve this, follow these steps:
- Use a vacuum or compressed air to remove dust and debris inside each hole. This prevents anything from interfering with anchor installation.
- Conduct a visual inspection to confirm the holes are free of obstructions and ready for anchoring.
- Make sure no residual particles remain. These can weaken the bond between the anchors and the wall material, risking movement or failure.
Taking a little extra time to clean your holes properly will pay off in a safer, more stable installation.
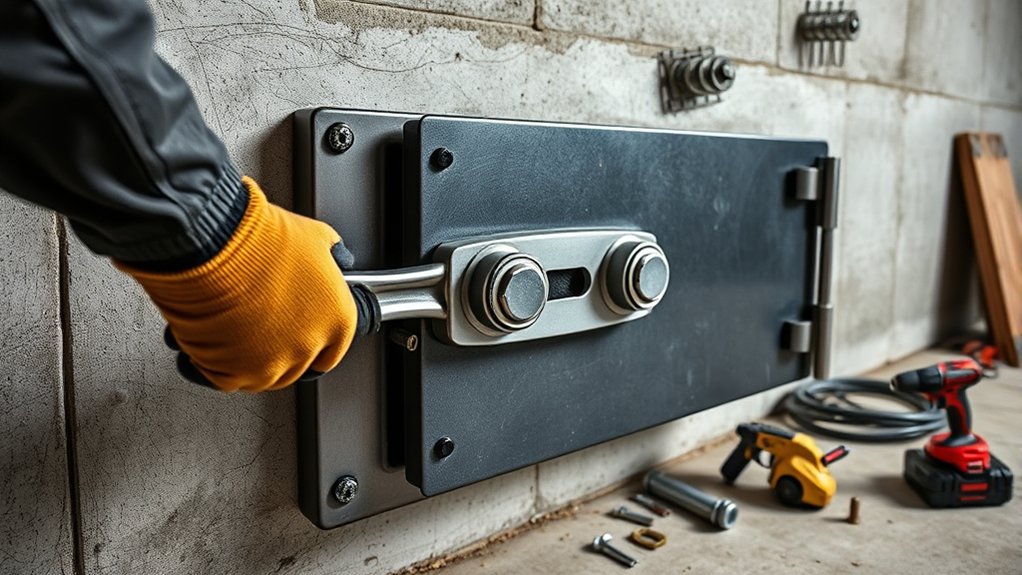
Attach the Gun Safe to the Wall and Tighten Bolts Firmly
Begin by using a stud finder to locate the wall studs behind your intended installation area, as anchoring the gun safe directly into these studs provides the maximum strength and stability. Mark drilling points aligned with the safe’s pre-drilled holes for precise installation. Drill pilot holes slightly smaller than your bolts to guarantee a tight fit without damaging the wall.
Insert heavy-duty lag bolts or concrete anchors depending on your wall type, then tighten all bolts firmly. This secure installation guarantees your gun safe withstands forceful removal attempts.
| Wall Type | Anchor Type | Bolt Size (in) |
|---|---|---|
| Wood Stud | Lag Bolts | 3/8 – 1/2 |
| Drywall | Toggle Bolts | 3/8 – 1/2 |
| Concrete | Expansion Anchors | 3/8 – 1/2 |
| Brick | Sleeve Anchors | 3/8 – 1/2 |
| Metal Stud | Self-Drilling Screws | #12 |
Check the Gun Safe’s Level, Alignment, and Stability
Two critical checks guarantee your gun safe remains secure and functional: its level and stability. To ensure proper security, you need to check the gun safe’s level, alignment, and stability right after installation.
Start by using a spirit or digital level to confirm the safe is positioned securely both horizontally and vertically. An unlevel safe can compromise how well it works and its overall security.
Next, make sure the safe sits flush against the wall and floor with no gaps. This helps keep it stable and reduces the risk of tampering.
Then, gently push or pull the safe to see if it wobbles or tilts. This will confirm it’s firmly anchored and stable.
Don’t forget to regularly recheck the alignment of the anchors and the safe’s level over time. Environmental changes can affect its stability and security, so it’s good to stay on top of it.
Conceal or Reinforce the Gun Safe to Enhance Security
When you want to enhance your gun safe’s security, concealing it or reinforcing its structure are essential strategies. You can conceal the safe by installing it behind a false wall, inside a hidden closet, or placing it in hard-to-see locations like basements or behind furniture. This reduces visibility and deters theft.
To reinforce security, use heavy-duty hinges and apply tamper-resistant materials to the safe’s structure. When anchoring, install large washers on bolts to evenly distribute load and increase stability.
Furthermore, integrating alarm systems or surveillance cameras complements concealment by providing active monitoring. These combined measures guarantee a robust protection strategy, making your gun safe both physically secure and discreet.
After installing a gun safe, reducing unauthorized access risks effectively.
Inspect and Maintain Wall Anchors to Keep Your Safe Secure
Although securing your gun safe to a wall is a critical step, maintaining the integrity of the wall anchors over time is just as important to keep it secure. You should routinely check the wall anchors to make sure they’re still solid and stable.
Here’s how to do it: First, look for any rust, corrosion, or wear on the anchors because any damage can weaken their hold.
Next, use a torque wrench to check that the bolts are tightened according to the manufacturer’s specs. This helps stop them from loosening due to vibrations.
Also, keep an eye on the wall around the anchors. If you notice moisture or any structural damage, that could affect how well the anchors hold.
If you find any damage or signs of moisture, replace the anchors right away.
Regularly inspecting and maintaining your wall anchors is key to keeping your safe secure and preventing theft or tipping.
Frequently Asked Questions
What Tools Are Essential for Installing a Gun Safe on Drywall?
You’ll need a stud finder for wall integrity checks and a power drill with the right bits for your gun safe materials.
Use lag bolts or heavy-duty screws to guarantee proper weight distribution and secure fastening. A hammer drill works best for masonry, while a socket wrench tightens bolts effectively.
Don’t forget a level for alignment and a measuring tape for precision.
Prioritize installation safety by selecting bolt types suited to drywall strength and your safe’s weight. It’s all about making sure your safe stays put and your wall stays strong.
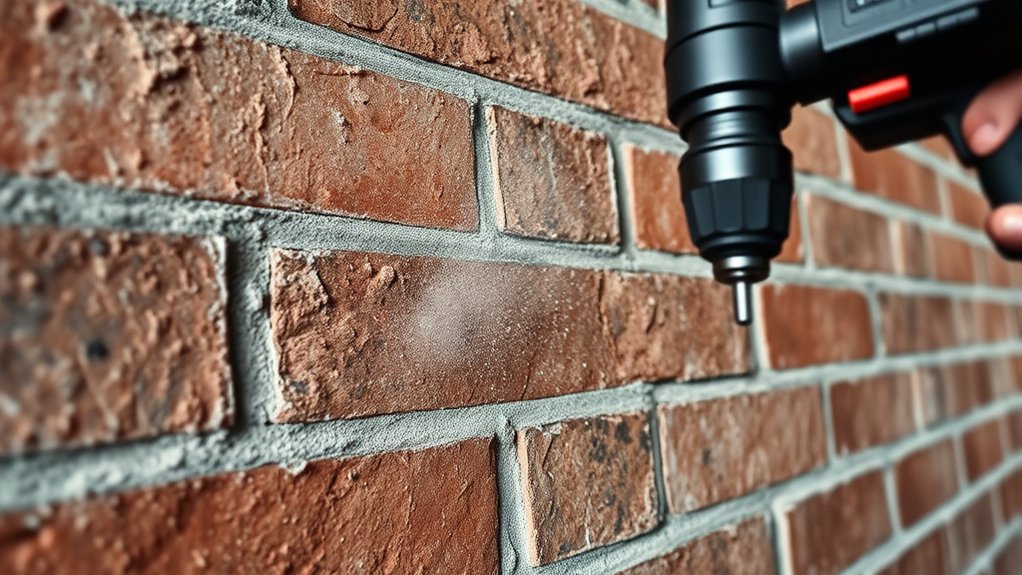
Can I Secure a Gun Safe to a Concrete or Brick Wall Instead?
Yes, you can secure a gun safe to a concrete or brick wall using concrete anchors that are designed specifically for gun safe installation.
This method actually provides better wall reinforcement compared to just drywall.
Just make sure to follow safety regulations by using the right masonry anchors and tools, like a hammer drill with masonry bits.
Properly securing your safe not only guarantees secure storage but also helps reduce the risk of theft and keeps the safe stable.
It’s a good idea to regularly check the anchor points to ensure long-term safety and compliance.
That way, you can be confident your gun safe stays secure over time.
How Deep Should Pilot Holes Be Drilled for Heavy-Duty Bolts?
You should drill pilot holes deep enough to match the entire bolt length, usually 2 to 3 inches. It depends on the bolt’s size and weight capacity.
Choose a drill bit that’s slightly smaller than the bolt diameter for a snug fit.
If you’re working with concrete or brick walls, use a hammer drill with masonry bits. Drill at least 2.5 times the bolt diameter deep in these materials.
Always clean debris from the holes before installation. This helps ensure maximum grip and stability.
Is It Necessary to Anchor the Gun Safe to Both Studs and Floor?
Think of your gun safe as a fortress; anchoring it to both studs and the floor is essential for gun safe stability.
Using wall anchor types designed for heavy loads and securing to floor joists guarantees ideal weight distribution and security enhancement.
This dual anchoring method prevents tipping and unauthorized removal.
For safe installation tips, always align anchors precisely with structural supports.
Doing this assures your safe remains immovable and fully secure against theft attempts.
How Often Should I Recheck the Bolts and Wall Anchors?
You should recheck bolts and wall anchors every six months as part of your maintenance schedule.
Focus on bolt integrity, especially if your wall material is prone to moisture or degradation. Consider the safe weight and vibration effects from daily use, which can loosen anchors over time.
If the safe experiences unusual movement or environmental changes, inspect immediately.
Regular checks guarantee peak security and prevent anchor failure. Staying on top of these inspections keeps everything secure and gives you peace of mind.
Conclusion
Securing your gun safe to the wall is like planting a mighty oak. Its strength, rooted deep within the studs, guarantees unyielding stability. Just as the oak withstands storms by anchoring firmly to the earth, your safe, bolted with precision, guards your valuables against any threat.
By following these steps, you build more than security; you create a steadfast fortress. Stay vigilant and maintain your anchors to keep this fortress unbreakable.