How to Secure a Gun Safe in 7 Steps
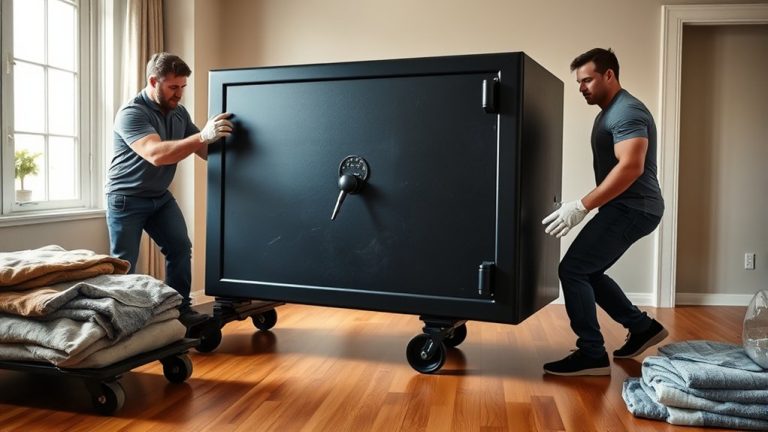
To secure your gun safe in seven steps, first pick a discreet, stable location like a basement or closet. Gather essential tools like an impact drill and socket wrench. Clear and level the installation area, checking your floor type—concrete, wood, or tile—for proper anchoring.
Next, mark anchor points, drill precisely, and bolt the safe firmly. Test for immovability and routinely maintain locks, batteries, and humidity control to guarantee long-term security. Keep going to uncover detailed tips for each step.
Choose the Right Location for Your Gun Safe
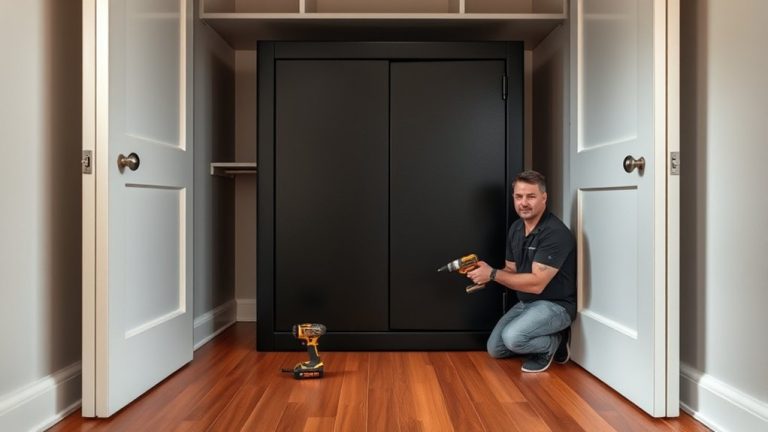
When choosing the right location for your gun safe, prioritize a discreet spot like a basement or closet. This keeps it out of sight from potential thieves while allowing you quick access during emergencies.
Choose a location with a sturdy foundation, preferably a concrete floor, to support the safe’s weight and prevent tipping. Avoid high-traffic areas and places with extreme humidity or temperature fluctuations that could damage your firearms.
Make sure there’s enough space around the safe to install it properly and allow the door to swing open fully without obstruction.
Once positioned, anchor your safe securely to the floor or wall to prevent unauthorized removal.
Selecting the correct location balances concealment, stability, and accessibility. This way, your firearms are both secure and quickly reachable when needed.
Gather Your Tools and Supplies for Installation
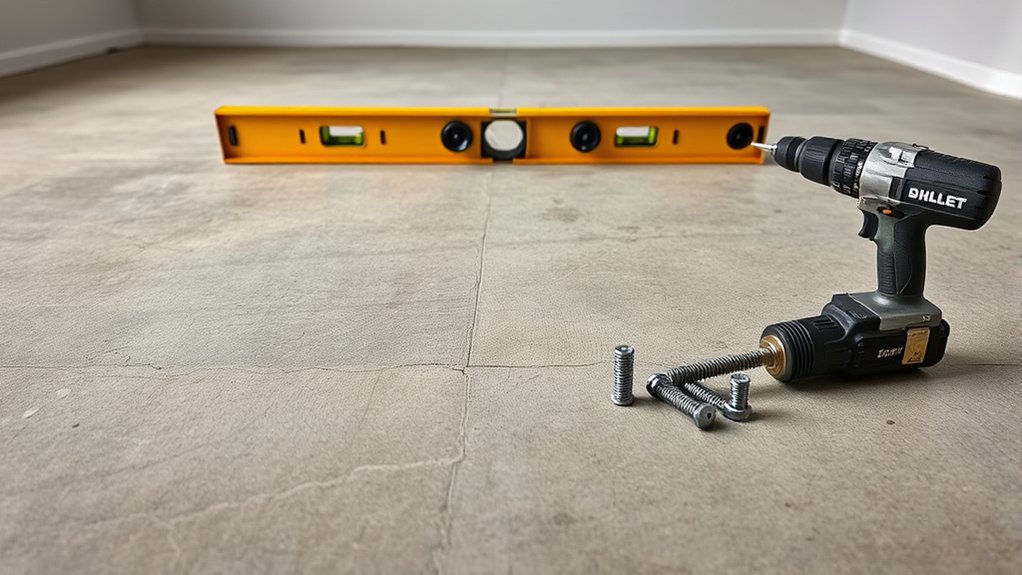
Before you start, make sure you have all the essential tools on hand. You’ll need an impact drill, a concrete drill, a socket wrench, a plastic hammer, and a level to check that everything goes in smoothly.
It’s also a good idea to get your workspace ready by clearing the area and double-checking the floor type. This way, you’ll know exactly how to anchor your safe properly.
Having everything prepared beforehand helps you avoid any interruptions and ensures your safe is secured firmly and accurately.
Essential Installation Tools
Gather at least five essential tools to secure your gun safe properly: an impact drill, a concrete drill, a socket wrench, a plastic hammer, and a level.
The impact drill drives fasteners into tough materials, while the concrete drill is designed for hard concrete floors. Choose the right drill diameter for your anchor bolts to maximize stability.
Use the socket wrench to tighten anchor bolts firmly, preventing any movement after installation. The plastic hammer lets you adjust the safe’s position without scratching its surface.
Finally, the level guarantees your safe sits perfectly upright, which is critical for both security and function.
Having these tools ready streamlines the installation process and ensures your gun safe remains immovable and secure on any surface.
It really makes a difference when everything is on hand and ready to go.
Preparing Your Workspace
Start by securing all necessary tools and supplies, including an impact drill, concrete drill, socket wrench, plastic hammer, level, and the correct anchoring kit for your flooring type.
Before you place your gun safe, clear the installation area of any debris or obstacles to guarantee a safe, efficient workspace. Measure the designated space carefully to confirm the safe fits properly and mark precise drilling points.
Check that the surface is clean and level. This foundation is critical for the proper installation of your safe on a concrete or wooden floor.
Using the right tools and preparation will streamline the installation process, assuring your safe is securely anchored.
Thorough workspace preparation is essential to achieve a stable, tamper-resistant installation that protects your valuables effectively.
Taking these steps upfront really makes the whole process smoother and gives you peace of mind about the security of your safe.
Prepare and Level Your Installation Spot for the Safe
Three critical steps guarantee your installation spot is ready for a gun safe: clearing the area of obstacles, accurately measuring the space, and confirming the surface is level.
To prepare your installation spot effectively, follow these steps:
First, clear the area of any debris or furniture to guarantee unobstructed access and placement of the safe.
Next, measure the installation space precisely, allowing enough room for the safe’s door to open fully without hindrance.
Then, check the surface for levelness. Use shims or fillers to adjust any uneven spots and create a stable foundation for the safe.
Make sure the surface, whether concrete or wood, is smooth and sturdy enough to support the safe’s weight.
A properly prepared and level installation surface is essential for secure, long-lasting placement.
Assess Floor Type and Mark Anchor Points for Your Gun Safe
First, take a moment to check what kind of floor you have—whether it’s wood, concrete, or tile. This will help you figure out the best way to anchor your gun safe.
Once you know that, find the pre-drilled holes in the base of your safe and line them up carefully.
After that, go ahead and mark the exact spots on the floor where you’ll be placing the anchors. This way, you’ll ensure a precise and secure installation.
Identify Floor Material
Before securing your gun safe, you need to identify the type of floor it will rest on: wood, concrete, or tile. This step is important because it determines the right anchoring method and materials to use.
Start by locating the safe’s pre-drilled holes, then mark the corresponding anchor points on the floor.
Next, use a pipe finder to avoid any hidden utilities before drilling the anchor holes.
For wood floors, choose wood anchors to guarantee a firm, stable hold.
On concrete floors, use a concrete drill and heavy-duty anchors designed specifically for masonry.
Tile floors require special consideration. Make sure the anchors you pick won’t crack or damage the tiles.
Locate Pre-Drilled Holes
Locate the pre-drilled holes on the base of your gun safe carefully, as these are essential for securing it properly. These holes are designed to facilitate stable anchoring during installation.
Before proceeding, assess your floor type: concrete floors require concrete anchors, while wooden subfloors need wood anchors to secure the safe effectively.
Use a level to confirm the safe sits perfectly flat. An unlevel safe compromises stability. Once positioned correctly, identify the exact location of the anchoring holes to plan your drilling.
Always inspect the area beneath the floor for pipes or electrical wiring using a pipe finder to prevent accidents.
Mark Anchor Positions
Three critical steps guarantee your gun safe is anchored securely: evaluating the floor type, checking for hidden utilities, and accurately marking anchor points.
Start by examining your floor, whether it’s concrete, wood, or tile. This will guide your safe installation approach.
Use a pipe finder to detect hidden pipes or wiring before drilling to prevent damage.
Then, follow these steps to mark anchor positions precisely:
- Position the safe where you want it and use a pencil to trace the pre-drilled holes on the base onto the floor.
- For concrete floors, select a masonry bit matching your anchors’ diameter to drill secure holes.
- For wood floors, use wood anchors and secure them with lag bolts to guarantee stability.
This approach guarantees effectively securing your safe with proper anchor placement.
It’s really about taking these careful steps to make sure everything stays put.
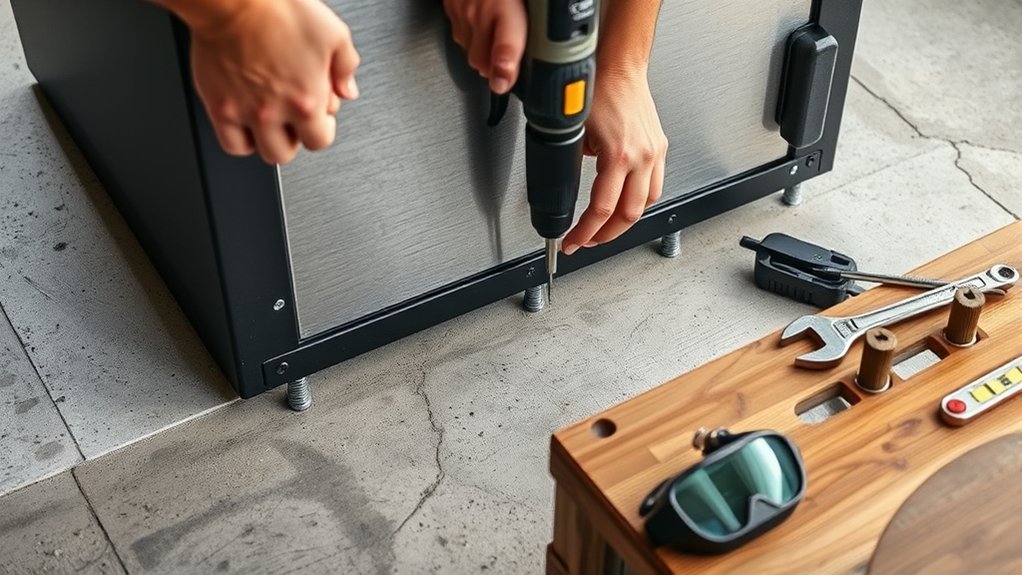
Drill and Install Anchors Based on Your Floor Type
When securing your gun safe, you’ll need to choose the proper anchoring method based on your floor type to guarantee maximum stability.
For concrete floors, use a hammer drill and a concrete anchoring kit to drill precisely into pre-cut holes in the safe’s base. Make sure the floor isn’t post-tensioned before drilling to avoid any hazards.
On plywood subfloors, pick wood anchors that can handle the safe’s weight. Also, confirm the floor can support it properly.
Avoid anchoring on tile or stone floors because of weight distribution concerns. In these cases, wall anchoring is a safer option.
Always match your drill bit diameter to the anchor size for a secure fit. Properly installing anchors will firmly attach the safe, preventing movement and enhancing protection.
Taking these steps helps keep your safe stable and secure at all times.
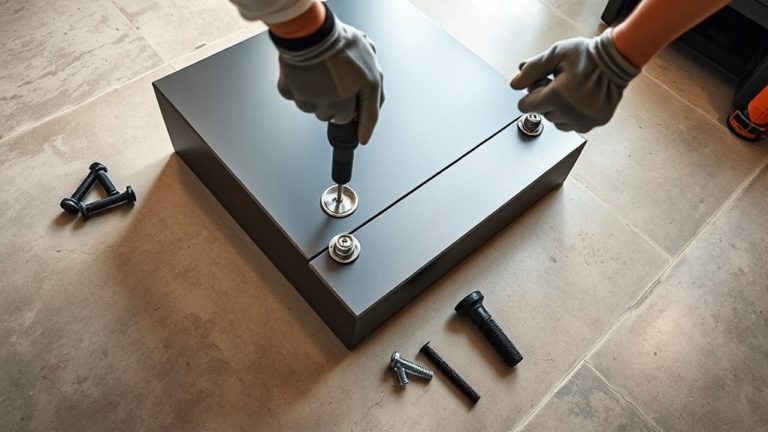
Secure Your Gun Safe With Bolts and Test Stability
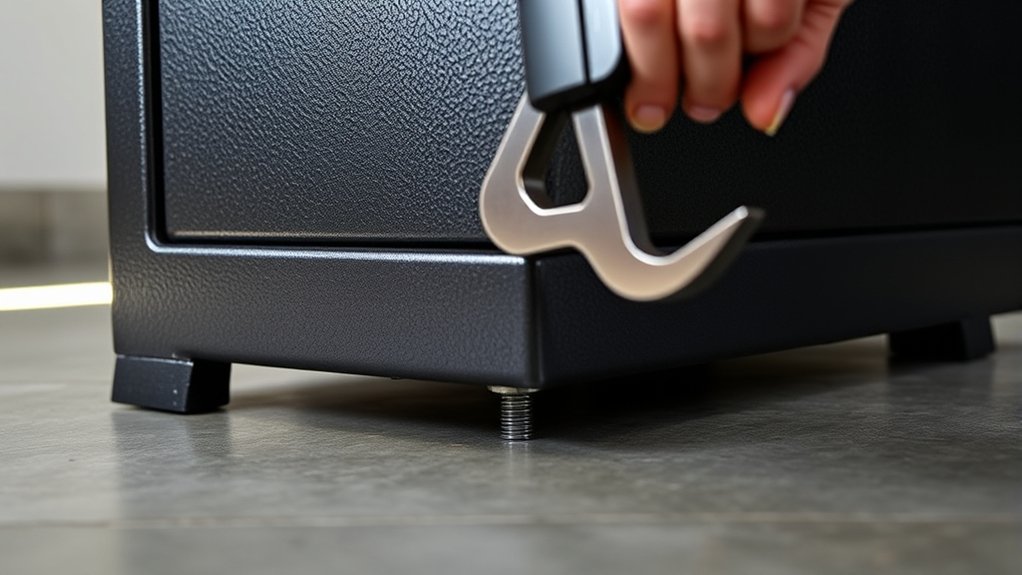
Before securing your gun safe with bolts, carefully align the pre-drilled holes on the safe’s base with the marked anchor points on your floor or wall.
To install the bolts correctly and guarantee maximum stability, follow these steps:
- Select anchor bolts suited to your flooring type. Use wood anchors for plywood and concrete anchors for concrete surfaces.
- Tighten each bolt securely, applying the torque specified by the manufacturer to prevent movement or tipping.
- Test the stability by gently pushing the safe. It should remain immovable and firmly anchored.
This way, you’ll make sure your gun safe stays put and secure.
Maintain Your Gun Safe: Battery, Locks, and Stability
Although securing your gun safe with bolts is essential, maintaining its battery, locks, and overall stability is equally important to guarantee ongoing security and functionality. Regularly replace the battery in electronic keypads to avoid lockouts, and clean the lock mechanism to prevent dust buildup.
Controlling humidity inside the safe with dehumidifiers or silica gel packs helps protect your firearms. It’s also a good idea to routinely inspect anchor bolts to confirm the safe’s stability. Don’t forget to test the lock mechanism to ensure it operates smoothly.
| Task | Frequency | Purpose |
|---|---|---|
| Replace battery | Every 6-12 months | Confirm reliable keypad access |
| Clean lock mechanism | Every 3 months | Prevent dust and debris buildup |
| Check anchor bolts | Quarterly | Maintain safe stability |
| Control humidity | Ongoing | Prevent moisture damage |
Frequently Asked Questions
How Often Should I Rotate or Update the Access Codes?
You should update your access code every 3 to 6 months to keep your security strong. Changing codes regularly helps protect against unauthorized access and keeps your system up to date.
If someone with access leaves your household or organization, change the code right away. This is a smart way to manage who can get in and keep your space secure.
Try using unique and complex combinations to make guessing harder. After any security incident or if you move your safe, update the codes promptly to stay protected.
Also, have an emergency access plan. Make sure to document any changes securely and only share the codes with trusted people. This way, you’re always prepared without risking security.
What Is the Best Way to Organize Firearms Inside the Safe?
For flawless firearm placement, first focus on fitting firearms vertically using storage accessories like racks or foam inserts to prevent damage and clanging.
Group guns by type to streamline safe maintenance and simplify inventory tracking.
Don’t forget about humidity control. Silica gel packs help fight corrosion and keep your firearms in top condition.
Keep a detailed record of each firearm’s make, model, and serial number to verify precise organization and quick access.
This disciplined approach guarantees your firearms stay secure and pristine.
Should I Inform Family Members About the Safe’s Location?
Yes, you should inform responsible family members about the safe location to balance family trust with emergency access. Sharing this knowledge supports responsible ownership and guarantees quick response during crises.
However, limit this information to adults who understand safety education to prevent unauthorized access.
Regularly discuss security measures and proper use to reinforce safe habits. This approach strengthens your household’s firearm safety culture while maintaining control over access.
It’s all about keeping everyone safe and prepared without compromising security.
Can Biometric Locks Be Bypassed or Hacked?
Imagine your biometric lock is like a castle gate. It’s advanced, but not impenetrable. There are some security concerns because hackers can spoof fingerprints or take advantage of vulnerabilities in the lock’s design.
Technology keeps improving, and firmware updates help fix many issues. But user errors, like forgetting to update the system or having dirty sensors, can create risks.
So yes, biometric locks can be bypassed or hacked sometimes.
That’s why it’s smart to combine them with other security measures for real protection.
Where Should I Keep a Backup Key Securely?
You should keep a backup key in discreet alternative key locations, like a weatherproof container buried or a secure lockbox, to balance emergency access plans with security.
Avoid common spots to reduce key duplication risks.
It’s a good idea to entrust a reliable person with your backup key.
Also, regularly review your key management tips to stay on top of things.
This way, your backup key remains accessible yet protected from unauthorized access.
Conclusion
Securing your gun safe properly is essential. Did you know that nearly 60% of gun thefts happen because safes are unsecured or not anchored correctly?
By choosing the right location, preparing your floor, and firmly anchoring your safe, you can drastically reduce the risk of theft. It’s all about making it as tough as possible for thieves to get to your firearms.
Regular maintenance is key too. Checking the batteries and inspecting the locks ensures your safe stays secure over time.
Follow these seven steps carefully, and you’ll protect your firearms effectively. You’ll have peace of mind knowing your investment is well safeguarded.