How to Remove a Gun Safe Door in 7 Steps
To remove a gun safe door in 7 steps, first gather essential tools and safety gear. Then prepare the work area for clear access.
Assess your safe’s hinge type because external hinges make removal easier. Next, with help, support the door evenly. Carefully remove the lower hinge pin using a pry bar.
Lift the door safely and transport it securely. When reinstalling, align the hinges properly. Finally, test the lock and seal to make sure everything works right.
Following this method guarantees proper handling and safety. And remember, more detailed steps can always help improve your approach.
Check Your Safe’s Hinges and Door Type
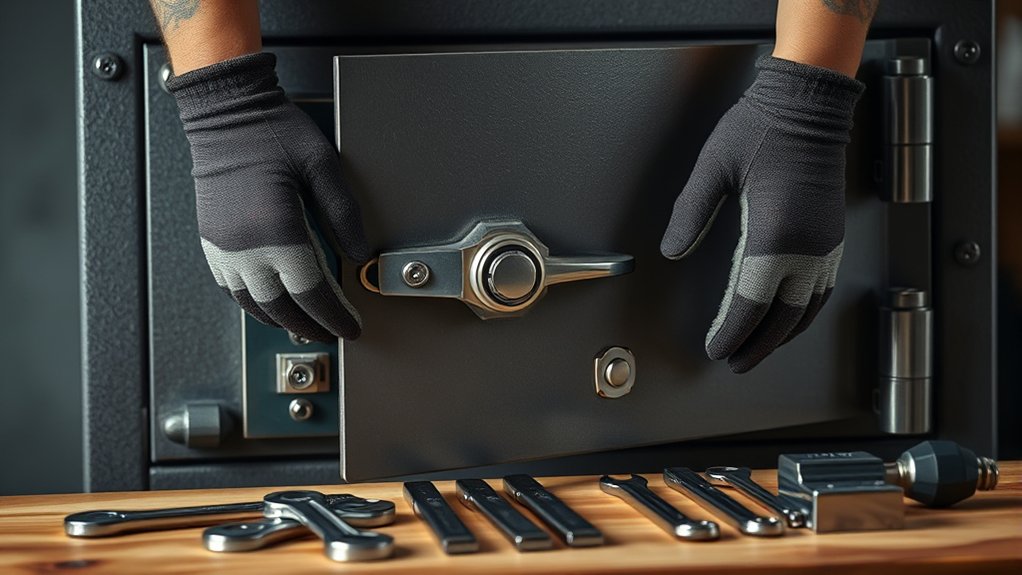
Before attempting to remove your gun safe door, you need to carefully check the hinges and identify the door type. First, check whether your safe has external hinges or an internal hinge system.
External hinges are generally easier to remove because they usually feature visible, accessible hinge pins that allow the door to lift off once supported.
Internal hinges, common in brands like Cannon and Liberty, often complicate removal and may make it impractical. Examine the hinge pins closely; if they’re hidden or inaccessible, removing the door without professional help could damage the safe or void your warranty.
Always consult your manufacturer’s manual to understand your specific hinge construction and any warranty implications before proceeding.
Consult your manufacturer’s manual to avoid warranty issues and ensure safe hinge handling.
This initial check guarantees you approach the door removal process safely and effectively. Taking a little extra time here can save you a lot of trouble later on. So, don’t rush it!
Get the Tools and Safety Gear You’ll Need
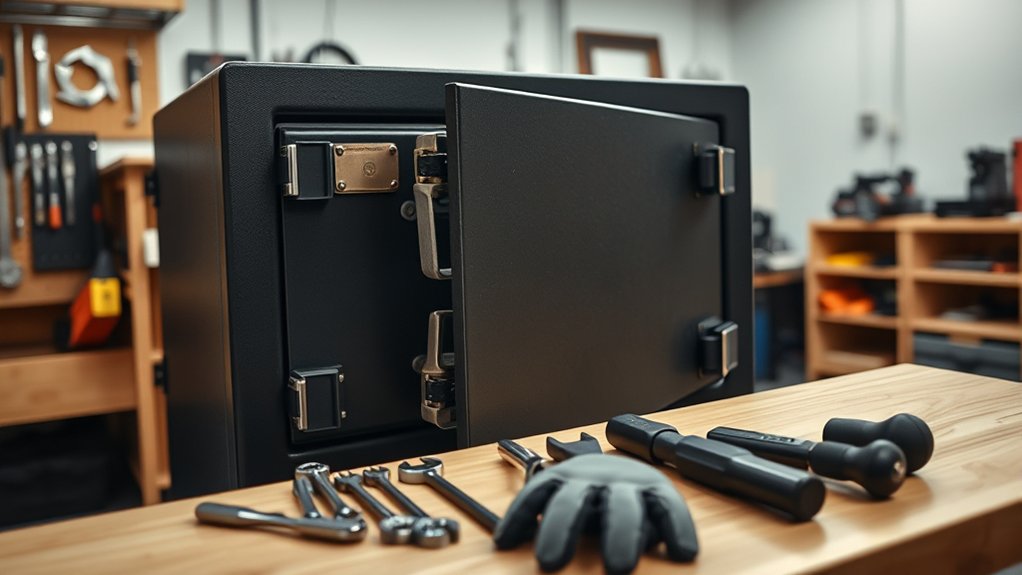
Three key tool categories will make removing your gun safe door safer and more efficient: hand tools, safety gear, and support equipment.
Start by gathering essential tools such as pry bars, screwdrivers, socket wrenches, and a specialized hinge removal kit tailored for the door hinge type. Inspect all tools to verify they’re in good working condition to prevent accidents.
For safety gear, equip yourself with sturdy gloves and reliable eye protection to guard against injury from heavy components or unexpected debris.
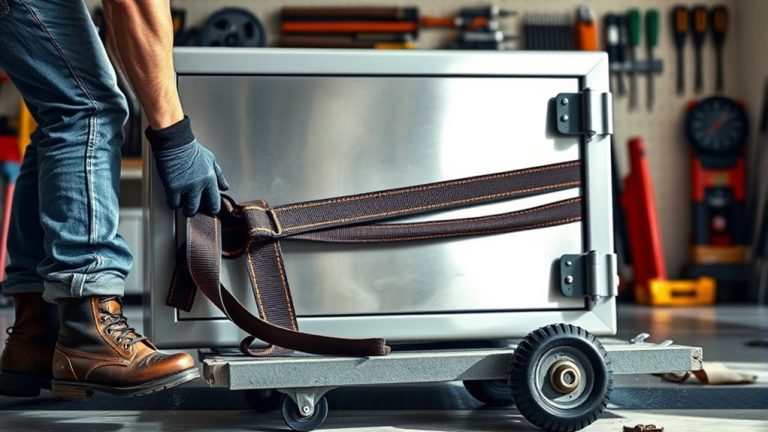
Support equipment like a ratchet strap is vital to securely hold the door during hinge removal, preventing sudden drops. Keep a flashlight nearby to illuminate tight hinge areas, allowing precise, safe manipulation throughout the process.
Proper preparation with these tools and safety gear sets the foundation for a smooth, controlled door removal.
It’s really all about being ready and careful so you can avoid any mishaps along the way. Just take your time and make sure you have everything you need before you start.
Prepare the Gun Safe and Work Area
Once you’ve gathered your tools and safety gear, turn your attention to the gun safe and the surrounding work area.
To prepare the gun safe properly, confirm the hinges are external and accessible. Internal hinges can make the removal process more complicated.
Ensure hinges are external and accessible, as internal hinges complicate door removal.
It’s a good idea to consult the manufacturer’s manual to avoid voiding any warranties.
Then, organize the work area to guarantee safety and efficiency during removal.
- Verify external hinge accessibility
- Review the manufacturer’s door removal instructions
- Clear obstacles, guaranteeing ample space for door handling
- Protect floors with carpet runners or plywood
- Coordinate with a safe technician if needed for complex setups
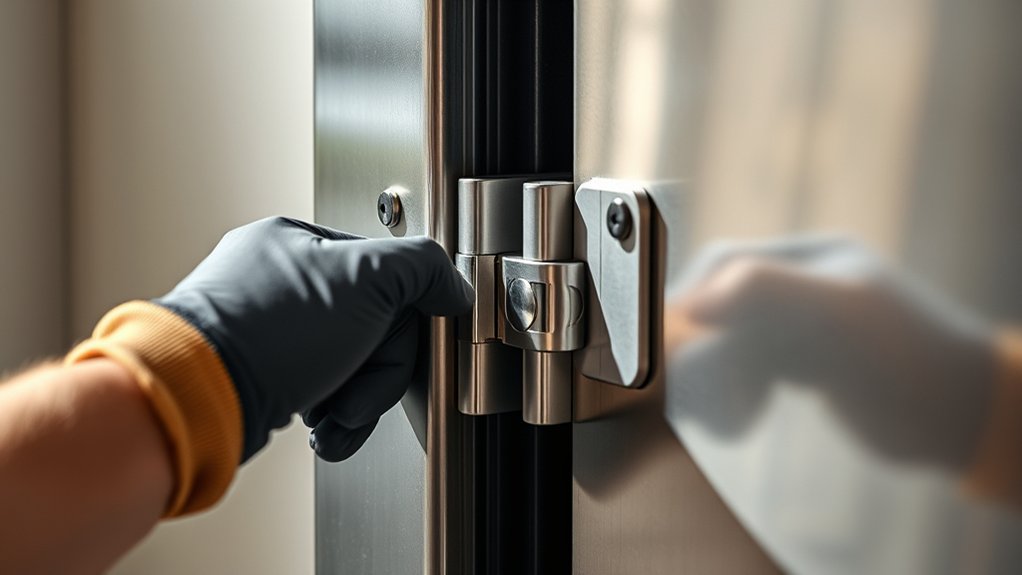
Remove the Lower Hinge Pin With Help
Support the safe door evenly as you prepare to remove the lower hinge pin, making sure it won’t fall during the process. To prevent injury, have a second person assist in holding the door steady while you focus on the pin removal.
Use a pry bar to gently lift the lower hinge pin out, taking care not to damage the hinge or surrounding components. Maintaining even support is essential to avoid sudden shifts that could cause harm or damage.
Once the lower hinge pin is free, double-check the alignment of the upper hinge pin to help facilitate the next step when you remove the door. Wearing gloves and eye protection throughout the process further enhances safety as you handle heavy, awkward parts.
Lift and Remove the Gun Safe Door Safely
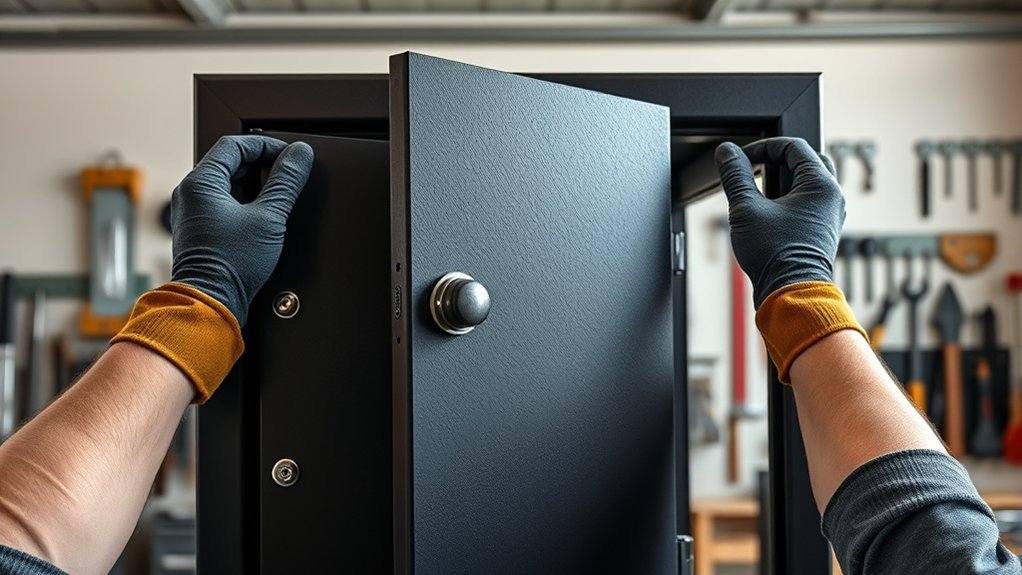
Position the gun safe door at a 90-degree angle to guarantee perfect balance and clear access to the hinges.
When removing the door, use a kneeling position to maintain stability and grip the bottom center firmly. For larger gun safe doors, enlist 2-3 people to coordinate lifting efforts.
Utilize tools like a dolly or Johnson bar to help move the safe safely and reduce injury risk. Always support the door evenly to avoid strain and damage.
Open the door fully to 90 degrees. Kneel for ideal support and control. Grasp the bottom center securely.
Coordinate with assistants for heavy doors. Use equipment to ease maneuvering.
Following these steps, you’ll lift the door safely and prevent accidents or damage.
Transport and Support the Gun Safe Door
After securely lifting the gun safe door, focus on transporting it with care to prevent damage or injury. Use an engine hoist and secure the door with ratchet straps to avoid shifting during moving a safe.
Place 2x4s or plywood beneath the door to create a stable base, minimizing gaps that could harm the floor or door.
Always have at least two people assist with the door removal to evenly distribute the weight and reduce injury risks. For smoother transport across surfaces, employ a dolly or pallet jack rated for heavy loads.
Ensure safety by having two people assist and use a heavy-duty dolly for smooth transport.
Label the door’s components, such as hinges and fireboard layers, to guarantee precise reassembly.
Following these steps assures safe, efficient transport and support of your gun safe door throughout the removal process. Just take your time, stay organized, and you’ll have everything moved without a hitch.
Reinstall the Gun Safe Door and Test It
When you’re ready to reinstall the gun safe door, make sure the hinge holes line up exactly with the pins. This helps ensure a secure fit.
It’s best to start with the bottom hinge—that way, everything stays aligned more easily.
Once the bottom hinge is in place, go ahead and attach the top hinge.
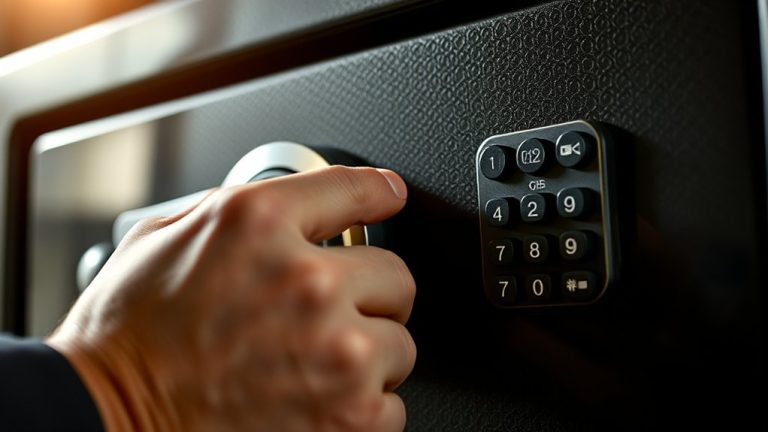
After the door is secured, take some time to thoroughly test the locking mechanism. You want to confirm it works smoothly and locks firmly before you finish up.
Align Hinges Precisely
Because precise alignment is critical, you’ll want to start by fitting the bottom hinge pin into its corresponding hole on the safe body. This guarantees the door aligns properly and maintains balance during reinstallation.
As you lower the door, carefully align the hinges to avoid any misalignment or damage. Follow these key steps:
- Check that hinge holes on the door align perfectly with the pins on the safe body.
- Insert the bottom hinge pin first for stable support.
- Gently lower the door while ensuring each hinge fits smoothly.
- Inspect for gaps or alignment discrepancies that could cause operational issues.
- Confirm the door moves freely without binding once hinges are secured.
Precise hinge alignment is essential to maintain the safe’s integrity and secure operation.
Just take your time with it, and you’ll be good to go.
Verify Lock Functionality
Once you’ve carefully aligned and secured the hinges, reinstall the gun safe door and immediately verify the locking mechanism’s functionality. Confirm the hinge holes align perfectly with the pins for a secure fit. Test the lock mechanism by engaging and disengaging it multiple times to confirm smooth, reliable operation.
Gently close the door to check for misalignment; it should latch without excessive force. Don’t forget to check the door’s seal to maintain its fire rating and security features after you remove the door and reinstall it. Document all changes for future troubleshooting.
| Step | Action | Purpose |
|---|---|---|
| 1 | Align hinges & pins | Secure door fit |
| 2 | Test lock mechanism | Confirm smooth operation |
| 3 | Check door’s seal & fire rating | Confirm safety & compliance |
Frequently Asked Questions
Can I Remove a Gun Safe Door Without Professional Help?
Yes, you can remove a gun safe door using DIY techniques if you follow strict safety precautions.
You’ll need proper tools like pry bars, screwdrivers, and socket wrenches. Be mindful of the door weight because it’s heavy and requires steady support during removal to avoid injury or damage.
Always wear gloves and eye protection.
However, if you’re unsure or the hinges are internal, consider professional help to guarantee safe, accurate handling and avoid warranty issues.
It’s better to be safe than sorry!
How Much Does It Typically Cost to Replace a Gun Safe Door?
You know what they say: “You get what you pay for.”
Door replacement costs for a gun safe typically range from $200 to $1,500, depending on safe door materials and security features. Installation expenses can add another $100 to $300.
High-end or custom doors may push costs above $2,000.
Before deciding, explore door repair options that might save you some money. Always factor in shipping fees and warranty coverage when budgeting.
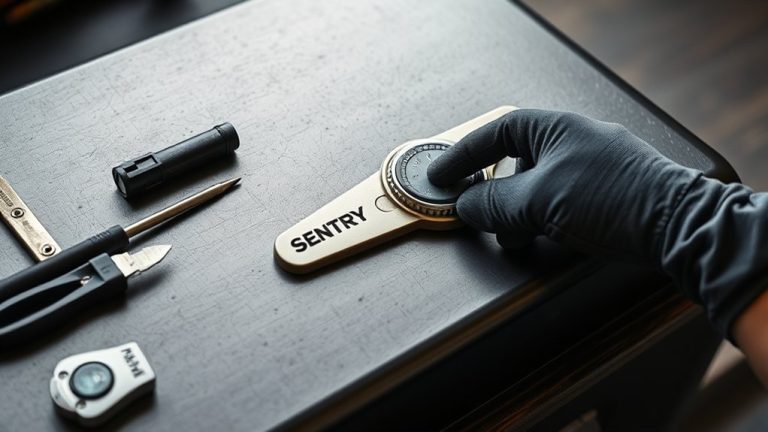
Are There Specific Gun Safe Brands With Easier Door Removal?
Yes, certain gun safe brands make door removal easier by using external door hinge types, like Fort Knox and Steelwater.
You’ll want to evaluate safe weight considerations since heavier models might need extra help or removal tool recommendations.
Brands like Browning and Heritage include brand specific features such as removable hinge pins, simplifying door detachment.
Always check your safe’s manual for the exact procedure and recommended tools to guarantee safe, efficient removal without damage.
What Are Common Causes of Gun Safe Door Alignment Issues?
Common causes of gun safe door alignment issues include door sagging from prolonged hinge wear and frame misalignment due to improper installation or damage.
Temperature fluctuations also play a vital role, causing materials to expand or contract, which affects the door’s fit.
You should regularly inspect hinges for wear, guarantee the frame remains square, and account for environmental changes to maintain proper alignment and smooth operation.
Keeping an eye on these things can really help your safe work just right.
How Do I Maintain the Locking Mechanism After Door Removal?
You’d think locking mechanism maintenance is rocket science, but it’s simpler with the right steps.
After door removal, clean all parts thoroughly to prevent dust buildup. Apply graphite-based lubrication regularly to keep it smooth and rust-free.
Make sure to inspect the mechanism frequently for wear, misalignment, or damage. These are common issues that can threaten your security.
Always test the lock’s function several times after maintenance to guarantee flawless operation and peace of mind.
Conclusion
Now that you’ve removed your gun safe door with care and precision, you’re holding the key to its future. Remember, this task isn’t just about muscle. It’s about strategy and safety, like a chess game where every move counts.
Follow the steps closely, use the right tools, and never rush. With patience and attention to detail, you’ll handle your safe’s door like a pro every time.